home

Battle Droid Blaster Conversion Page 1

You might have noticed, that we are currently building a fullscale Battle Droid (DON'T ask me when it's done!). I thought we need a blaster to complete it, but I did not want to build it completely from scratch so I started to look around for the available blaster toys. Actually there are several versions available. One in a set, to be used for a lazer tag game (too small!) another super soaker version (does not look right). Thanks to Tim Ketzer, I found the Kenner toy, and this is the best among them all. Although I thought, that this would be an easy job, I ended up using around 50 hours to complete it. In the following "how to" you will learn why...
The Blaster as seen in the movie

Materials I used: Plastic sheets (0.1 - 1.5mm), aluminum barrel, auto body putty, superglue, zip kicker, different screws, plastic strips, hot glue, miliput, 1K plastic primer from Revell, 2K bumper repair resin, 2K auto body filler from ICI autocolor, 1K spraypaint from Herberts, severall paints from Revell, bare metal foil and of course lots of photos from the real blaster (cgi and prop).
The Kenner toy
The Kenner toy (unscrewed)
removing stabilizers
Removing the rear stabilizers
Filling the cooler
Filling the cooler
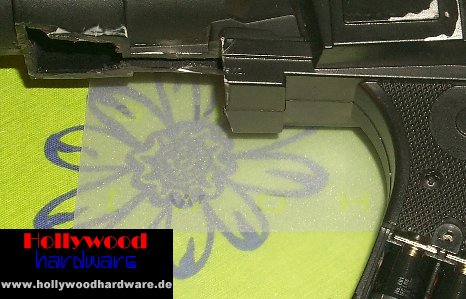
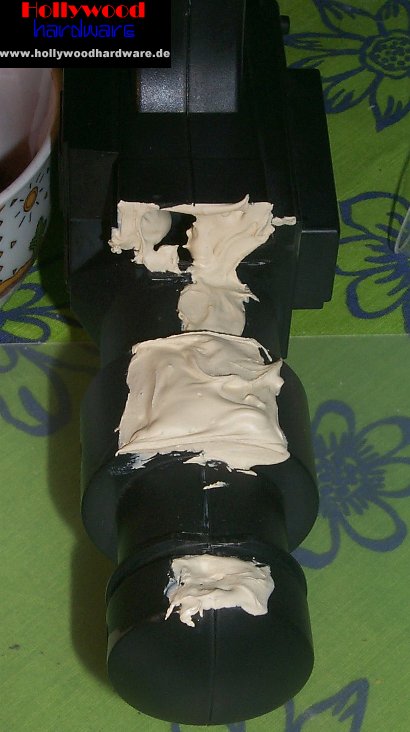
The holes of the barrel cooler had to be filled. Originally, you could see the flashing light through them.
Filling the cooler II
Because I used very thin plastic strips for this, I had to stabilize them with auto body putty.
Back end resculpt
Back end resculpt
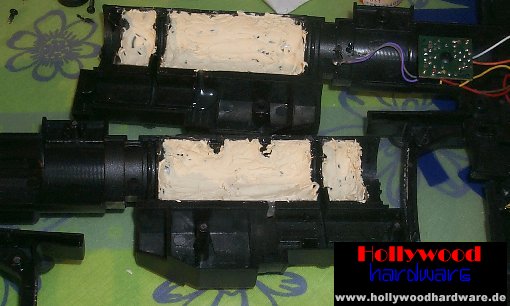
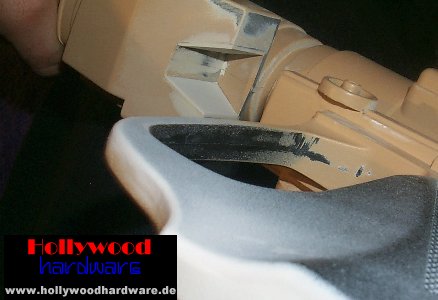
When I removed the back end stabilizer, I had to resculpt the "rings" around the blaster gas cartridge, because they would be visible in the upgraded version
Seam lines
Seam lines
On the above picture you can see the back end resculpting nearly finished with also some seam lines removed
Applying primer
Applying primer
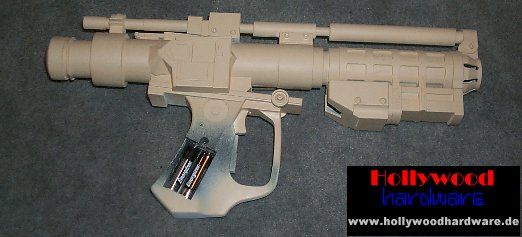
After I applied Revell primer, I used an additional coat of 2K auto body filler to hide the sanding scratches. At this time, all visible toy screws were already filled with auto body putty.
Front grip modifications
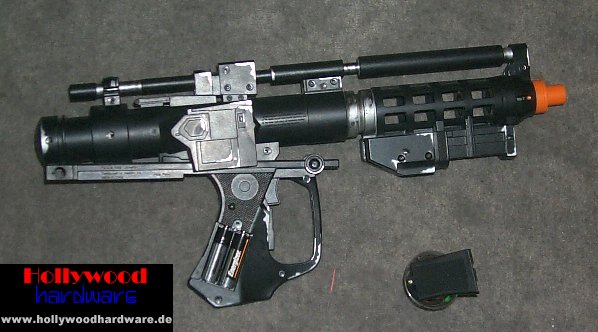
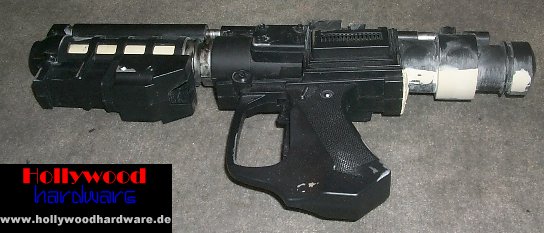
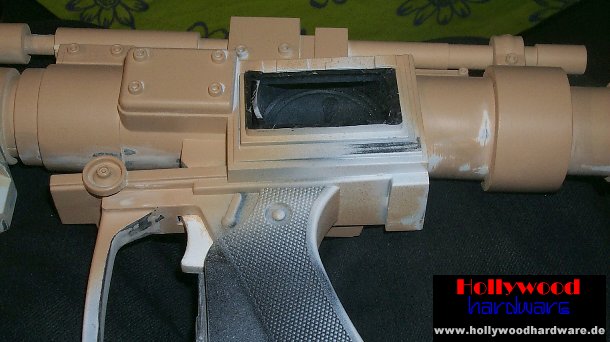
The front grip on the real blaster is actually closed. In the picture you can see, that I added small plastic sheets.
Power cell
Power cell lengthening
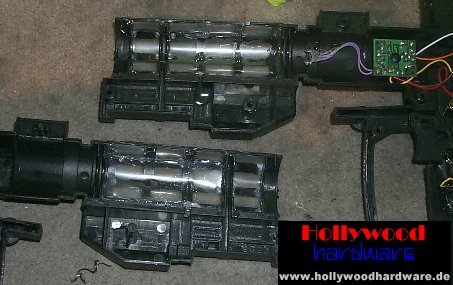
The original "power cell" which houses the speaker for the sound effects was to flat when compared with photos.


Battle Droid Blaster Page 2

home